Adding assets
The Media Library displays all assets uploaded in the application, either via the Media Library or the Content Manager when managing a media field.

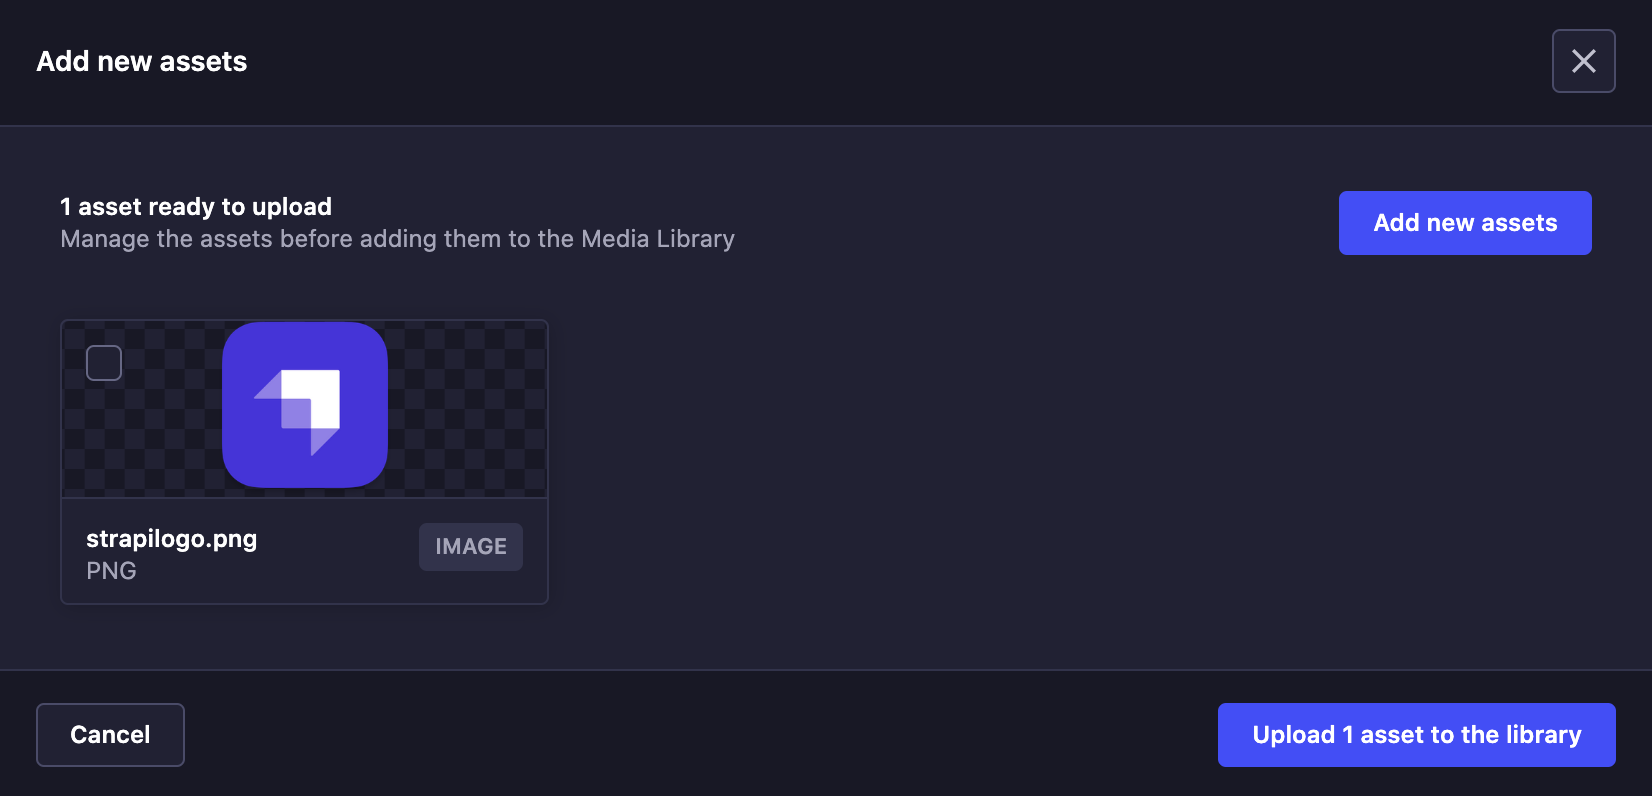
To add new assets to the media library:
- Click the Add new assets button in the upper right corner of the Media Library.
- Choose whether you want to upload the new asset from your computer or from an URL:
- from the computer, either drag & drop the asset directly or browse files on your system,
- from an URL, type or copy and paste an URL(s) in the URL field, making sure multiple URLs are separated by carriage returns, then click Next.
- (optional) Click the edit button
 to view asset metadata and define a File name, Alternative text and a Caption for the asset (see editing and deleting assets).
 - (optional) Add more assets by clicking Add new assets and going back to step 2.
- Click on Upload assets to the library.
A variety of media types and extensions are supported by the Media Library:
| Media type | Supported extensions |
|---|---|
| Image | - JPEG - PNG - GIF - SVG - TIFF - ICO - DVU |
| Video | - MPEG - MP4 - MOV (Quicktime) - WMV - AVI - FLV |
| Audio | - MP3 - WAV - OGG |
| File | - CSV - ZIP - XLS, XLSX - JSON |
✏️ Note
Images added to the Media Library will be stored in the /public/uploads folder of your Strapi application.